In todays blog we are going to restore an oak banister using our Wood Stain in the colour rosewood. Most wood is finished with an oil, wax or a varnish and once you’ve removed this finish, you can then stain the wood any colour you like.
Watch the video – restoring a banister
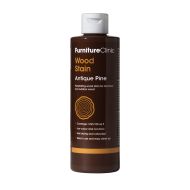
Rosewood Wood Stain
We have a range of nine colours available in our Wood Stain, and for this job we chose Rosewood. The wood stain is water-based and can be used for all projects within the house. If you’re looking to stain exterior wood, then you should use our Exterior Wood Stain.
Step 1 – Preparation
Like with any wood restoration task, the more effort you put into the preparation, the better the result. In this case, it is sanding and cleaning the wood. Sanding removes the old finish, and cleaning helps removing any staining from the wood and also removes any dirt that would effect the finish.
The wood on this banister has been treated previously with some kind of tinted varnish, so step one is to remove this. Its easiest to sand off any finishes like this, rather than using a chemical paint stripper.
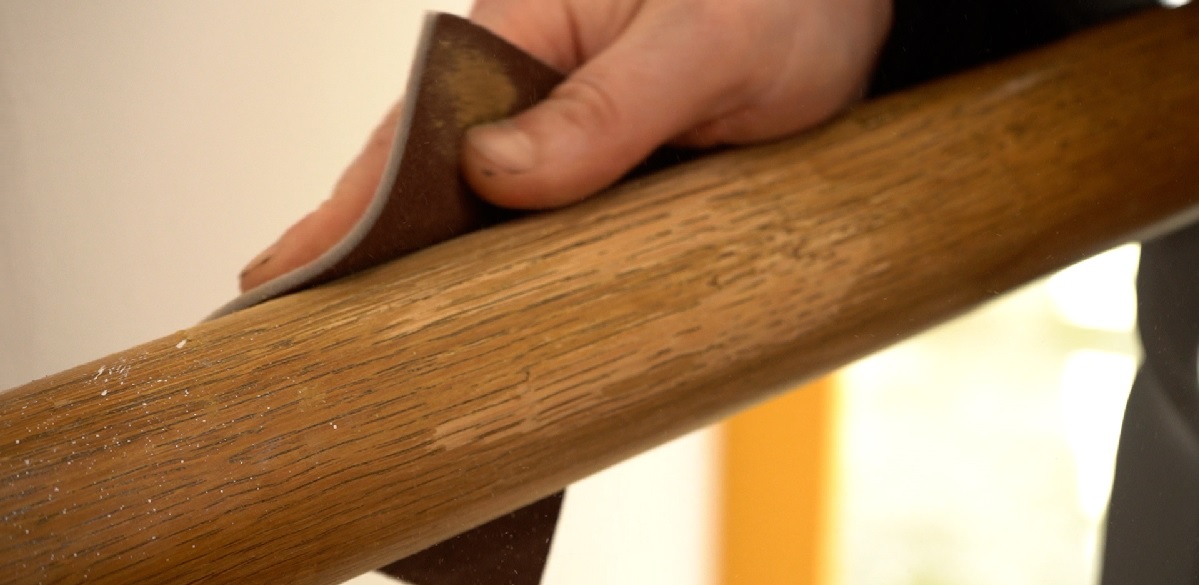
To sand the wood you can use an electric sander, or one of our Sanding Pads. When sanding wood you start with a coarse grade of sandpaper (which removes the finish) and then work you way up to higher grades which make the wood smooth. In this instance we used a coarse pad (p240) to remove the finish and then a fine pad (p320) to make the wood smooth for staining.
If the wood is heavily scratched or has a very tough finish then you can use coarser grades of paper first. But the key is to then work your way up through the grades to create the ideal finish. So if you needed to use p120 to sand out some scratches, you’d then use p240 to make it smoother, and then the fine pad (p320) to finish it off.
Then clean the wood using the Wood Cleaner to remove any dirt and dust.
Step 2 – Using Rosewood Stain
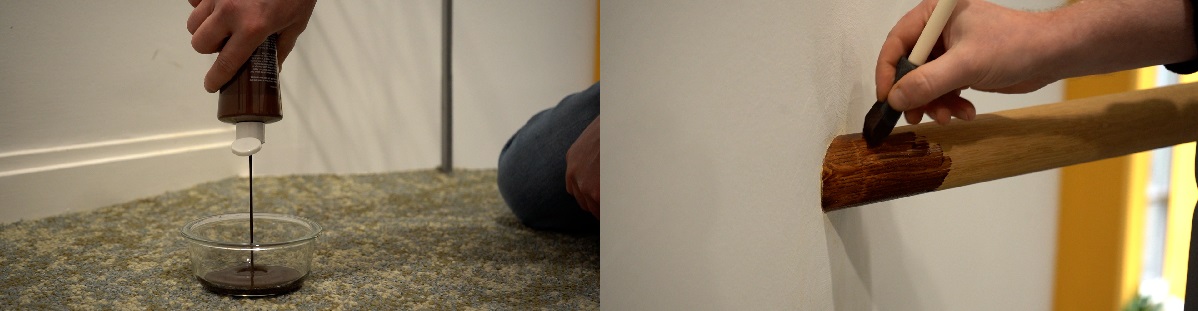
This is the fun part, and where you see the greatest transformation. Pour the Wood Stain into a bowl and dip in the Foam Brush. Following the direction of the grain wipe the stain onto the wood, and then leave to soak in for a couple of minutes. Wipe off any excess stain using a Lint Free Cloth.
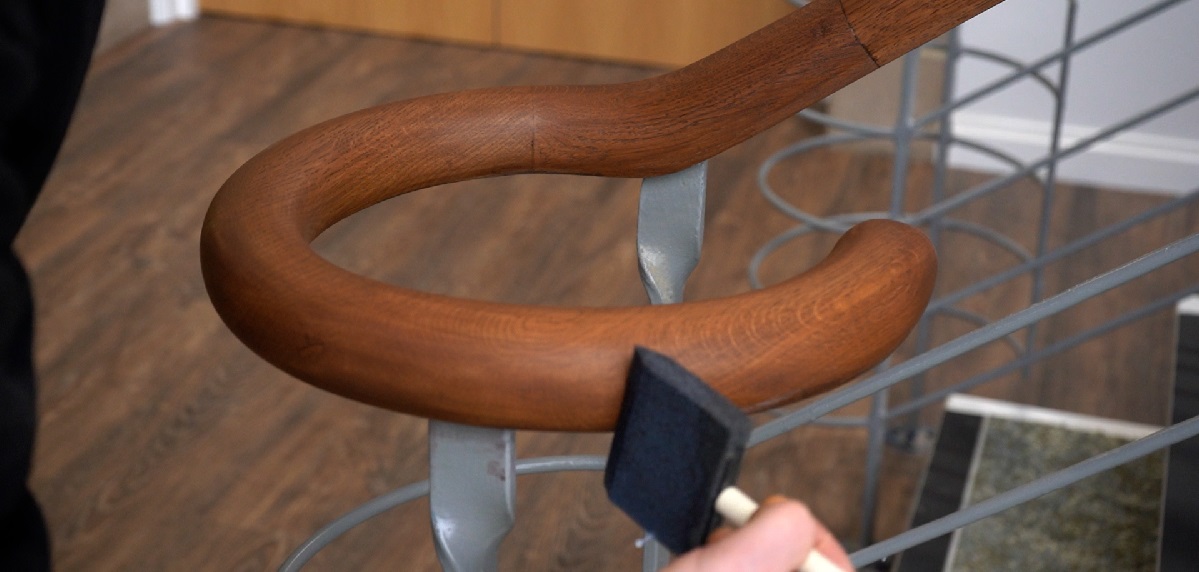
When the stain dries it may have picked up some dust from the air and so you should then use a de-nibbing pad over the stain. This will remove any imperfections in the finish creating a smoother finish. Once you’ve done this, you can then apply another coat of Wood Stain if you want to make the colour darker.
Step 3 – Applying Wood Varnish
After staining, you need to seal the wood. This will help protect the wood from staining and damage, but you’ll also find any finish applied enhances the depth of colour, making the stain look much better.
You could finish the wood with a Wood Oil or Wood Wax, but in this instance, we have chosen to use our Interior Wood Varnish. We chose to use a wood varnish as its harder wearing than an oil or wax, and as this banister is in the reception of our head office, we needed a robust finish.
The varnish is easy to apply, simply wipe it into the wood using a foam brush and leave it to dry naturally for one hour. Use the de-nibbing pad (same as before) and apply another coat. We chose to use the Satin sheen as this has a lovely natural look with a slight shine, however the varnish is also available in matt and gloss.